How to Make Easy Paper Flowers – Step by Step
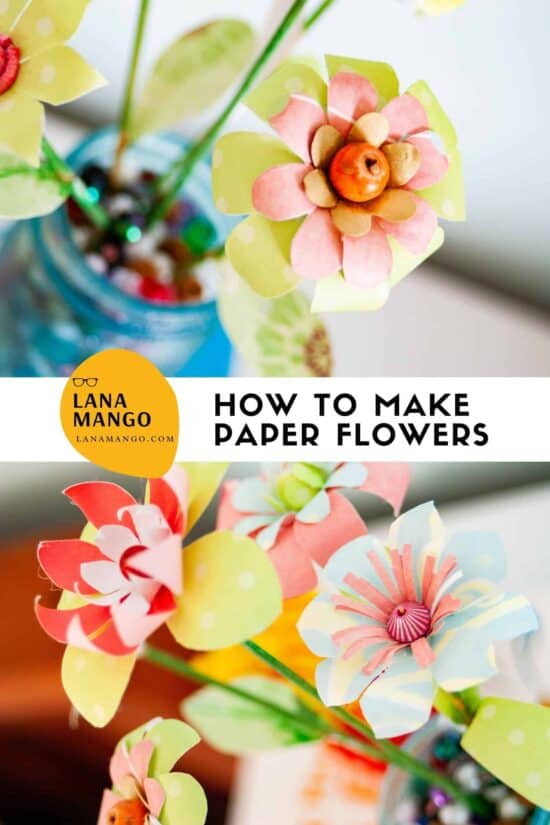
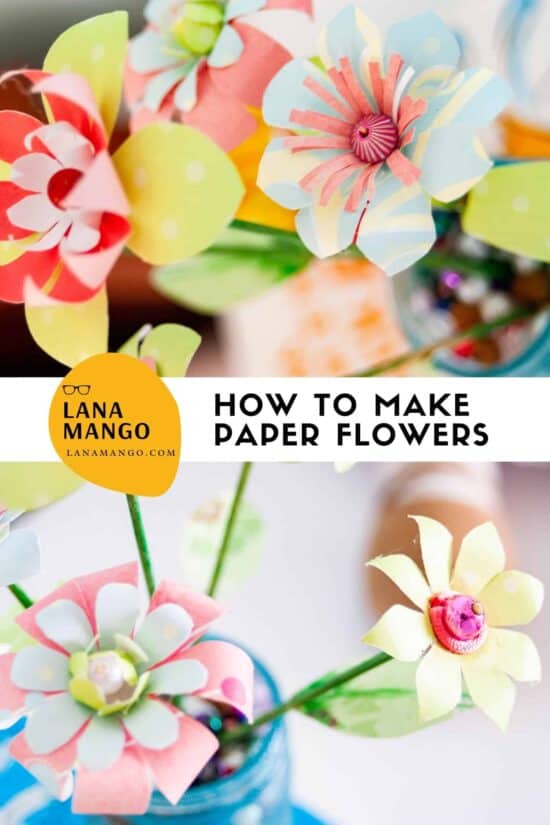
Let me show you how to make easy paper flowers, step by step, an easy craft that requires few materials. This one is for all of you that love crafting and DIY decor; these handmade flowers are the perfect way to reuse paper scraps and find a new way to decorate your space.
Besides, they’re entirely customizable, so you can give your flowers a unique touch with your favorite kind of scrapbooking paper. If you try these, I’d love to see it!
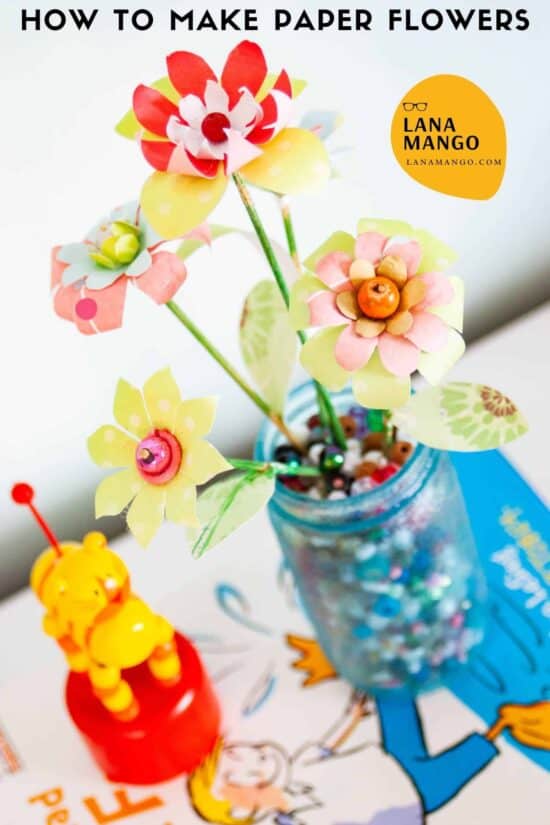
How to make easy paper flowers
I’d make a tutorial for how to fold paper flowers, but they’re so easy to make that it would be overkill, so instead, here’s some short instructions on how to turn your paper scraps into beautiful flowers. Ready?
1. Paper flower stems
For the stems, use bamboo skewers, or dowels (Amazon affiliate link) if you plan to make your flowers larger. Paint them the color of your choice with acrylic paint or food coloring (you might want to sand down the dowels first if the paint doesn’t stick). When that’s done, you can put them aside and move on to the exciting part!
Paper Flowers: Step-by-Step with Pictures
2. How to fold paper flowers
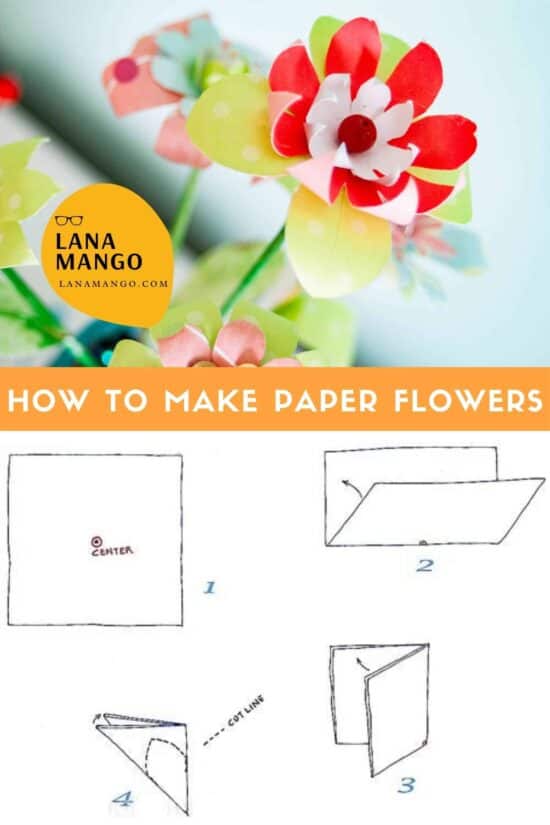
To make your flowers take a square piece of paper of the size you’d like your flower to end up, and fold it twice to create a smaller square. Fold it diagonally once again to make a triangle and a petal shape; what kind of shape is up to you, but you can cut off the corners to give it a pointy edge or round it out. Make sure to leave the angle where they join intact.
Curl the tips of the petals and leaves around a round pencil; you can curl them inwards (like a lotus) or outwards (like a sunflower).
2. How to put together
Make a small hole in the center of your flowers, just big enough to fit the stem you’ve made.
Layer your flowers with some glue, making sure the holes you’ve cut in the center line up and your stem fits through.
Add a dab of glue to your stem and pass it through the flowers; then take a bead (Amazon affiliate link) and pass the stem through it, making sure your bead is in the middle of the flower. If your stem pokes too far out of the bead you can trim it down.
3. Where to put them?
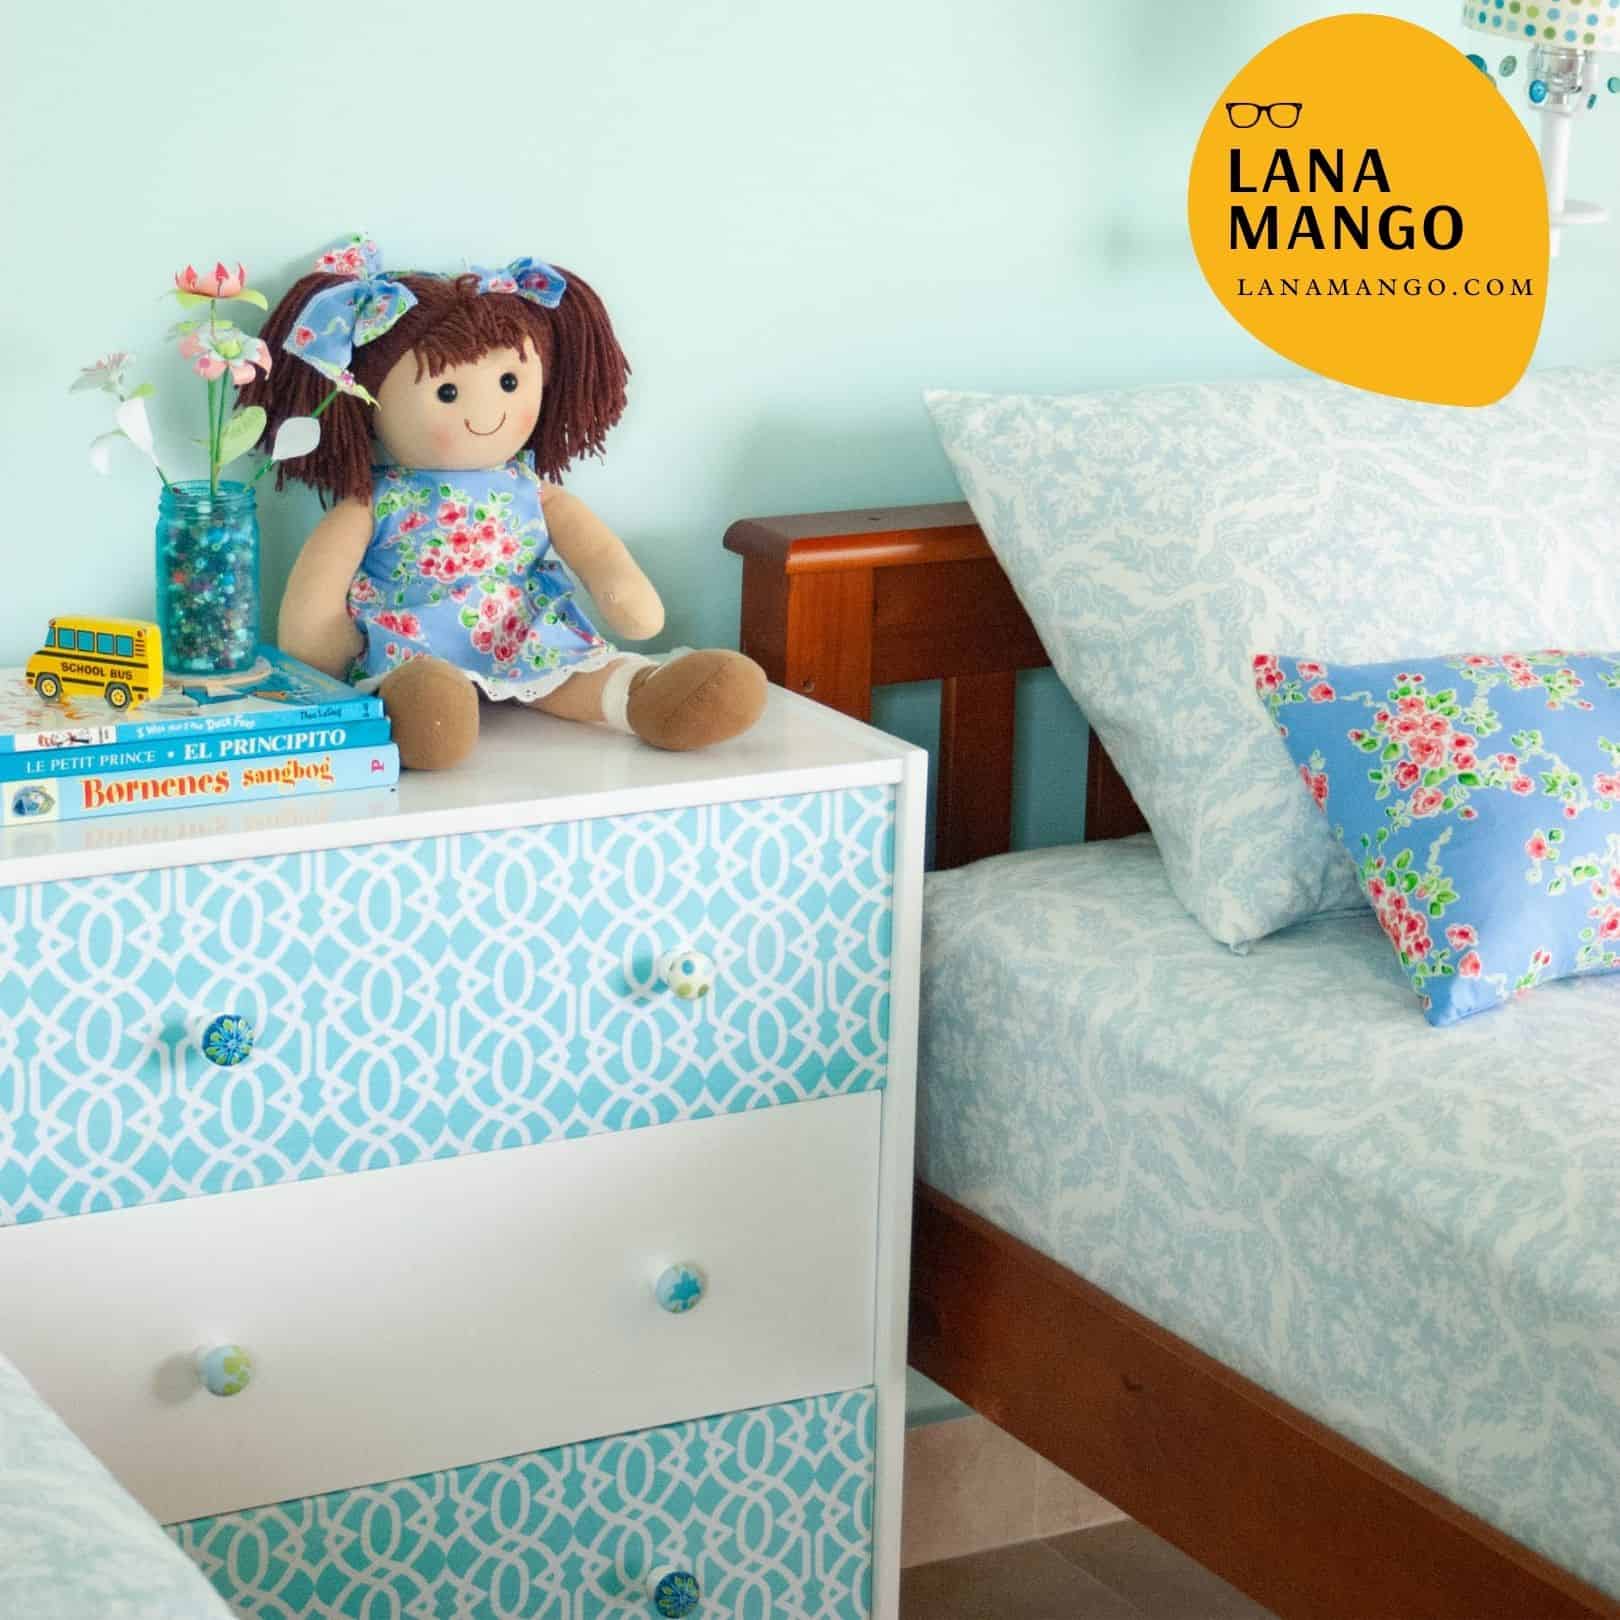
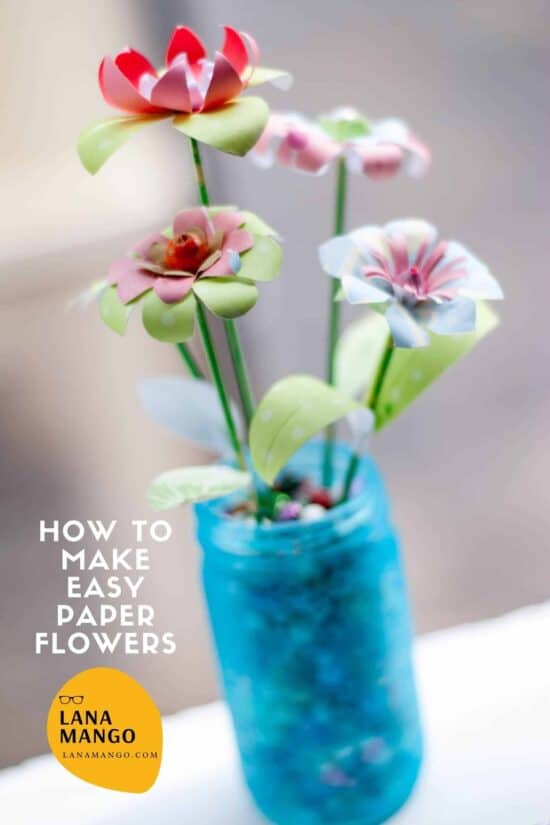
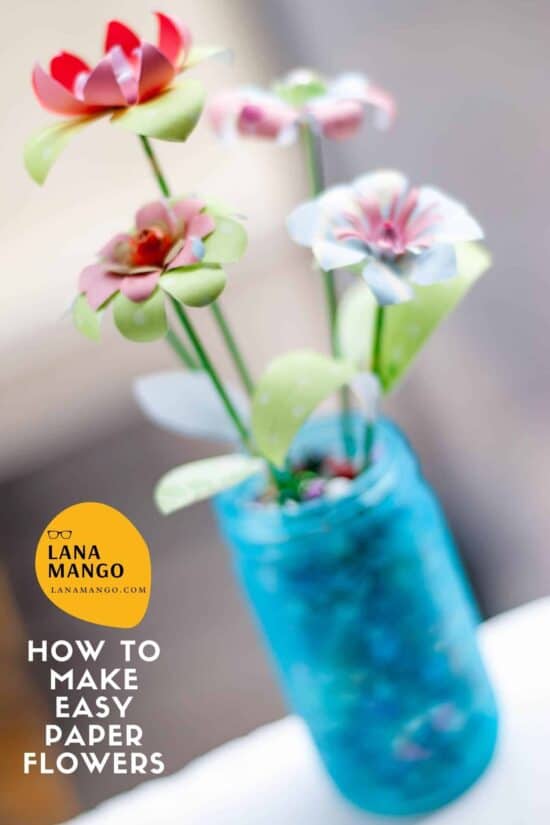
Decorate with these just as you would with normal flowers! (But these are even better: you won’t have to worry so much about watering them). In this case, I put them in a colorful vase, then filled it with equally colorful beads so the flowers would stay upright, which ended up giving them a very whimsical look! You can also put them in foam, sand or soil, if you want to go for something a little more realistic.
4. Scrapbooking Paper
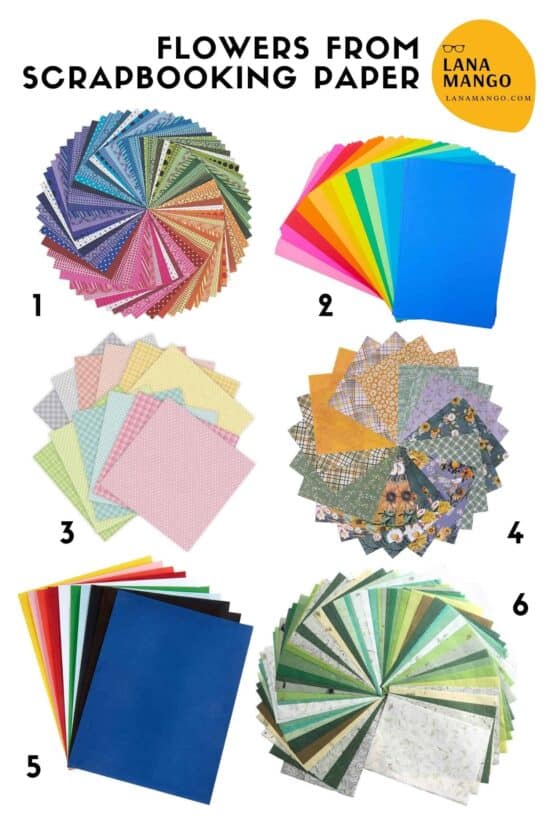
If you want to try these but don’t have the materials, here are some cheap and beautiful supplies you can use:
Flowers from Scrapbooking Paper:
- Rainbow Scrapbooking Paper
- Solid-Color Cardstock Paper
- Spring Color Scrapbooking Paper
- Floral Scrapbooking Paper
- Glossy Velour Paper
- Thin Mulberry Paper
This DIY is excellent for props, photos or decor, since they’ll last as long as you need them to and you can give them the exact look you want. Once you make them, you’ll realize just how easy they are to make. Tried them yet? Share it below!
